If render is bubbling, blistering or sounding drummy when you tap it, the cause is almost always one thing: water is getting in behind it. Until you find and fix that water source, no amount of patching, painting or sealing will hold for long.
What bubbling render actually is
Render is a thin coat (usually 8–15mm) bonded to a brick, block, AAC or blueboard substrate underneath. When water gets behind that coat — through a failed flashing, a cracked sill, a leaking parapet, rising damp or a poor original bond — it softens the substrate and the render lifts off in a bubble. Sometimes the bubble has burst by the time you notice it; sometimes it’s still intact and feels “springy” under finger pressure.
Step 1: Find the water source (this is the bit most people skip)
Stand back from the bubbled area and look up. Nine times out of ten the water is coming in from somewhere above the bubble and tracking down behind the render. The usual suspects:
- A window or door head flashing that’s lost its sealant.
- A window or door sill that’s cracked and isn’t shedding water away from the wall.
- A parapet cap on a flat roof or boundary wall where the cap sealant has perished.
- A balcony membrane that’s failed at the wall junction.
- A blocked weep-hole at the base of a brick wall, trapping moisture inside the cavity.
- Garden beds or paving piled up against the wall, bridging the damp-proof course.
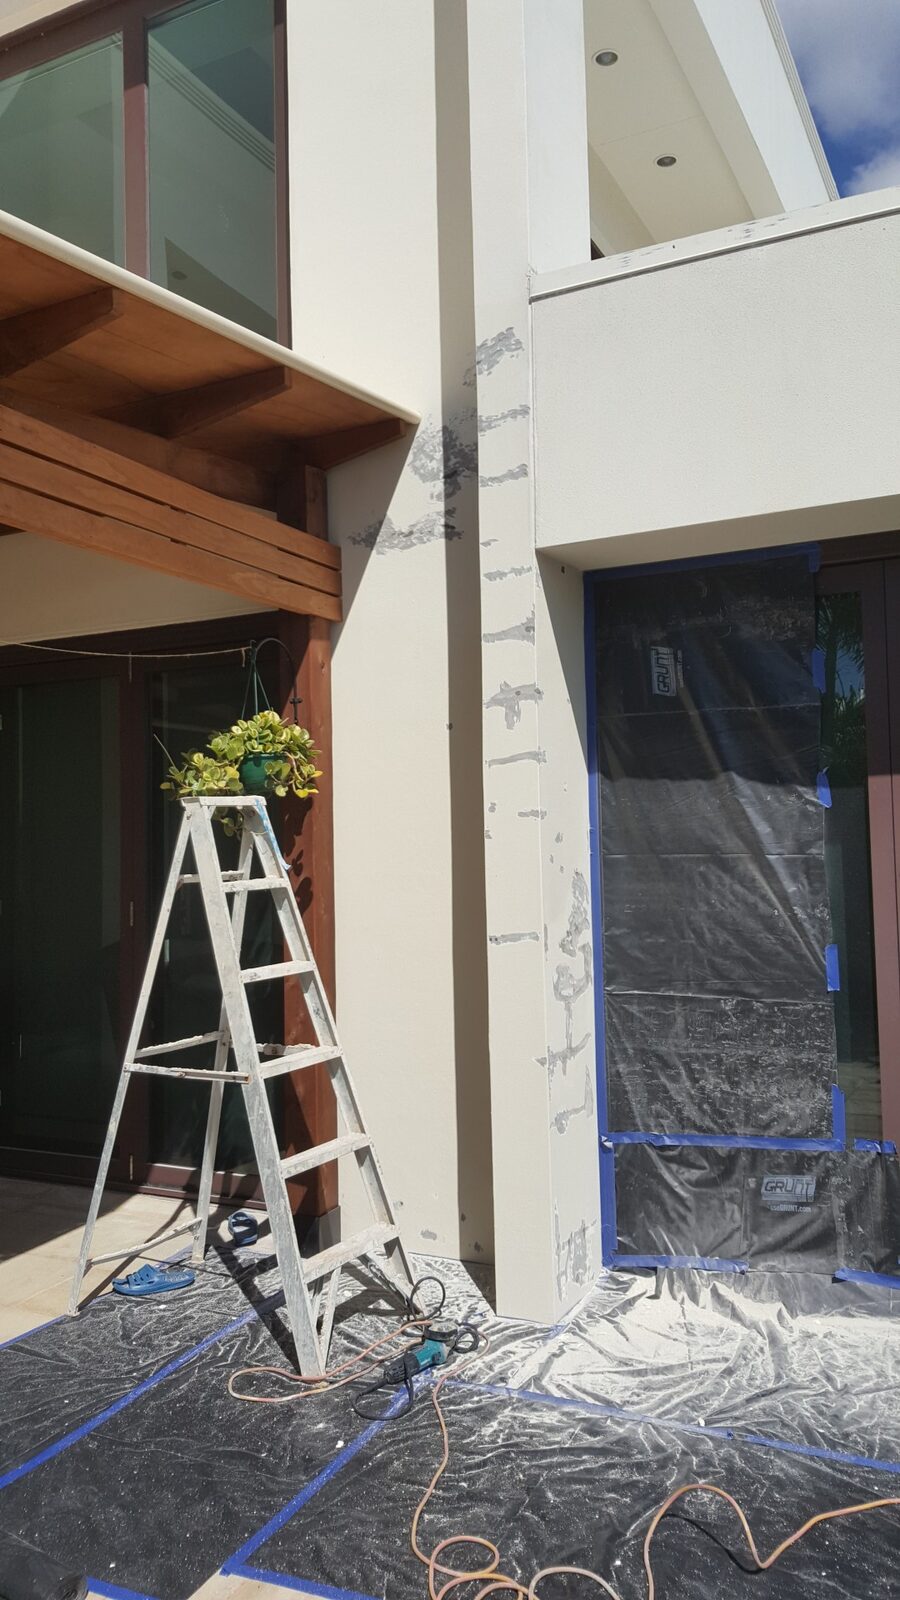
Step 2: Cut out the failed area
Once the water source is fixed, we cut out all the drummy render past the bond line. Tap-test the surrounding area — if it sounds hollow it’s coming out too, even if it looks fine. Stopping at the visible bubble means the next bubble starts at the edge of the patch in a year or two.
Step 3: Treat the substrate
If the brickwork or substrate behind the render is wet, it needs to dry out before we go back over it. Depending on how saturated it is that can be a few days to a couple of weeks. Skipping this step is the single most common reason render repairs fail.
If there’s salt-damp or efflorescence (white powdery deposits) we treat the substrate with a salt-neutralising primer before re-rendering.
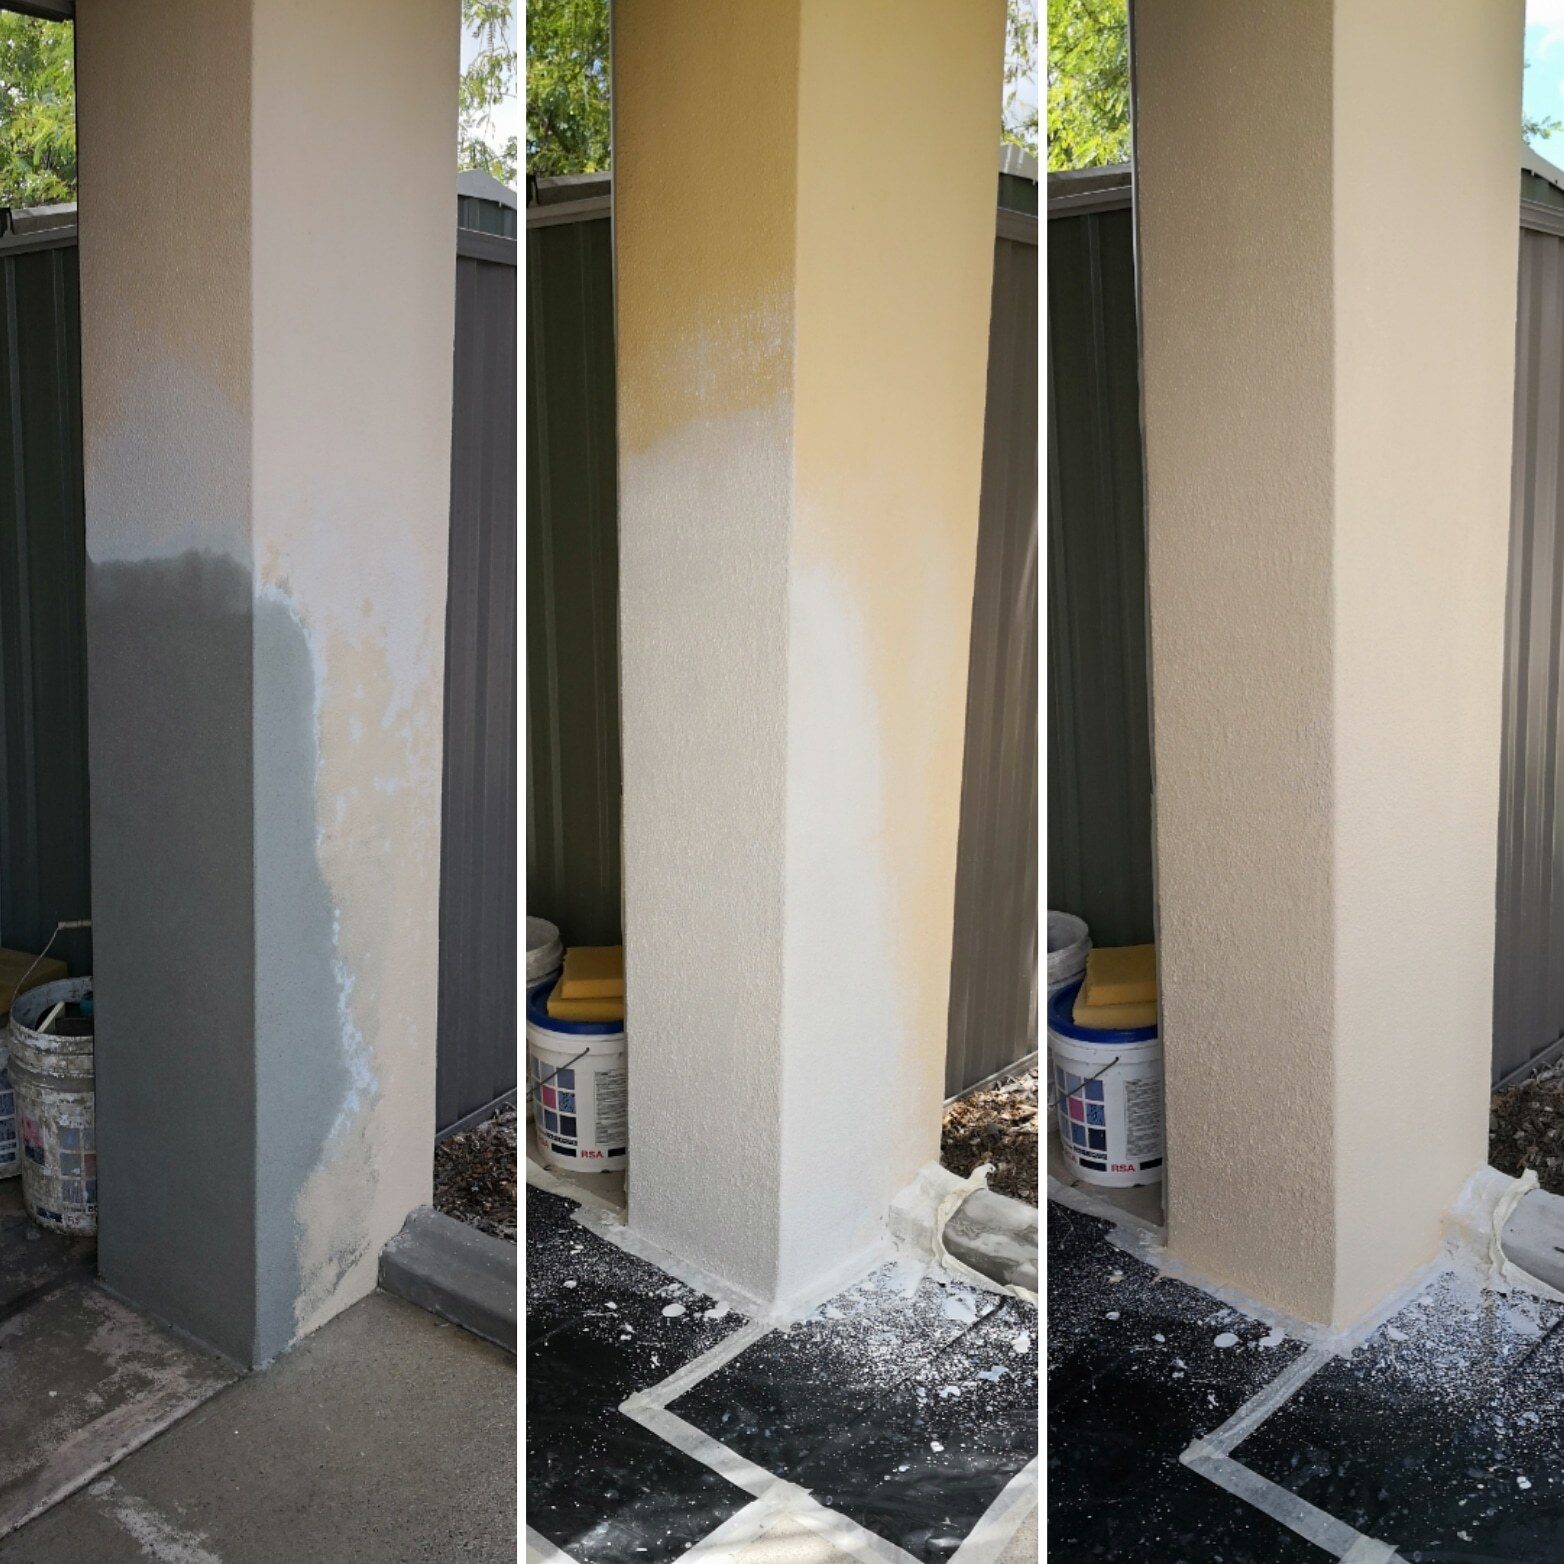
Step 4: Re-render and seal
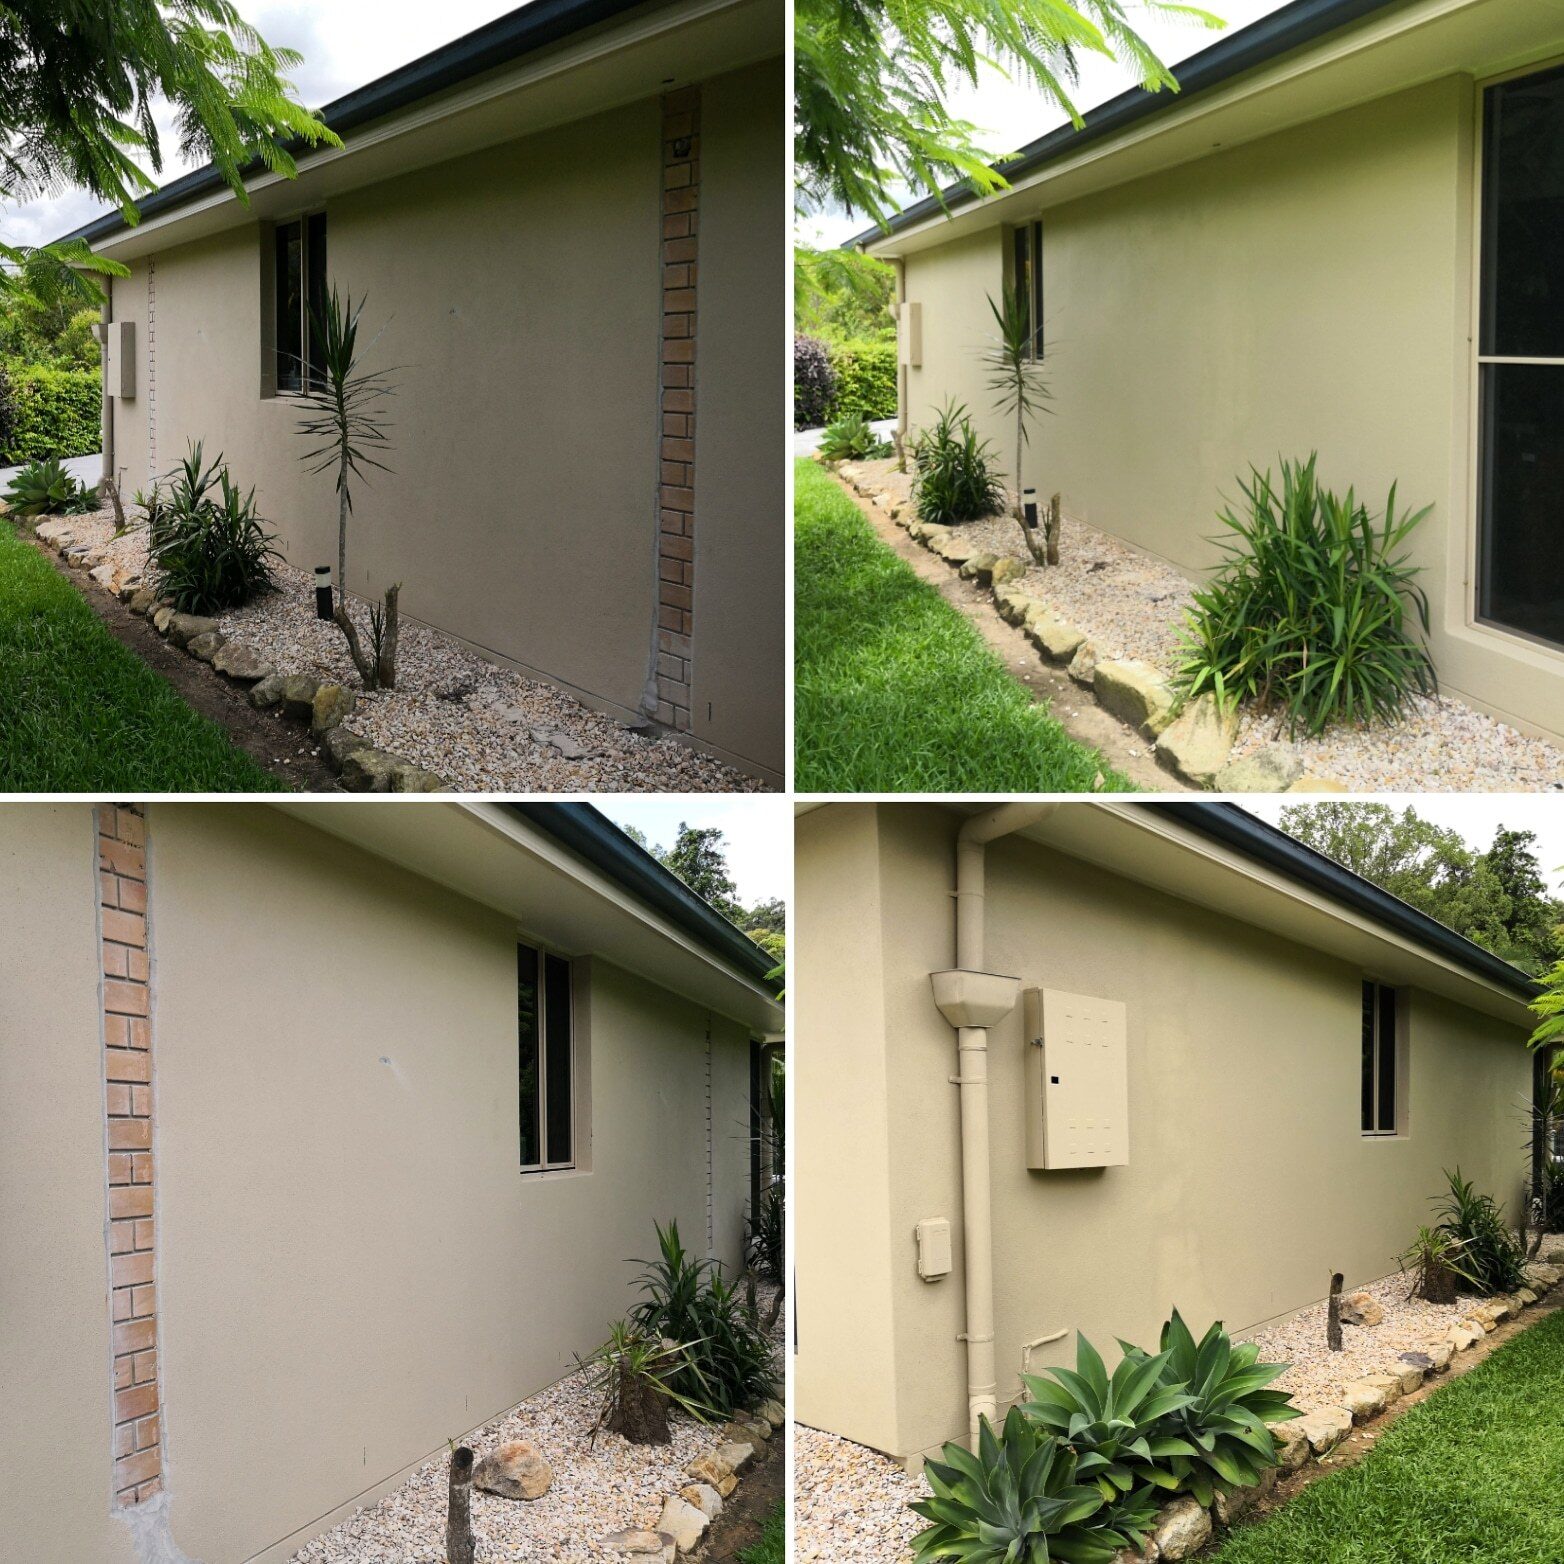
Mesh-reinforced base coat, finish coat in the matching texture, full cure (21–28 days for cement systems, 24 hours for acrylic), then a colour-matched paint blend with a proper sealer if the wall has a history of water issues. We often recommend an elastomeric (flexible, water-shedding) top-coat in salt-air areas like Mermaid Beach and Palm Beach where the wall takes a battering.
The repair is the easy half of the job. Diagnosing the water source and fixing it properly is the half that decides whether the repair lasts 10 years or 18 months.
Common mistakes we see
- Painting over the bubble. Doesn’t fix it — just hides it briefly.
- Cutting out only the visible bubble. Stops short of the bond line; new bubbles appear at the patch edge.
- Re-rendering before the substrate has dried. Traps moisture — the new render fails the same way.
- Skipping the flashing repair. The whole problem comes back next wet season.
Got bubbling render? Waterproofing & re-bedding, render repairs and full re-rendering across the Gold Coast. Call us on 0405 772 878.
About — Render Repair is the Gold Coast’s render & repaint specialist. 30+ years on the tools, QBCC #1192125. Honest quotes, fixed prices, finishes you can’t pick from the original wall.