The single biggest difference between a render paint job that lasts a decade and one that fails in 18 months is the prep. Not the brand of paint, not the number of coats — the prep. Here are the steps that actually matter.
Step 1: Wait until the render has cured
Cement render needs 21–28 days. Acrylic render is fine after 24 hours. There is no shortcut on this — the alkali in green render will burn through paint and you’ll see efflorescence (white crystals) push through the new coat within months.
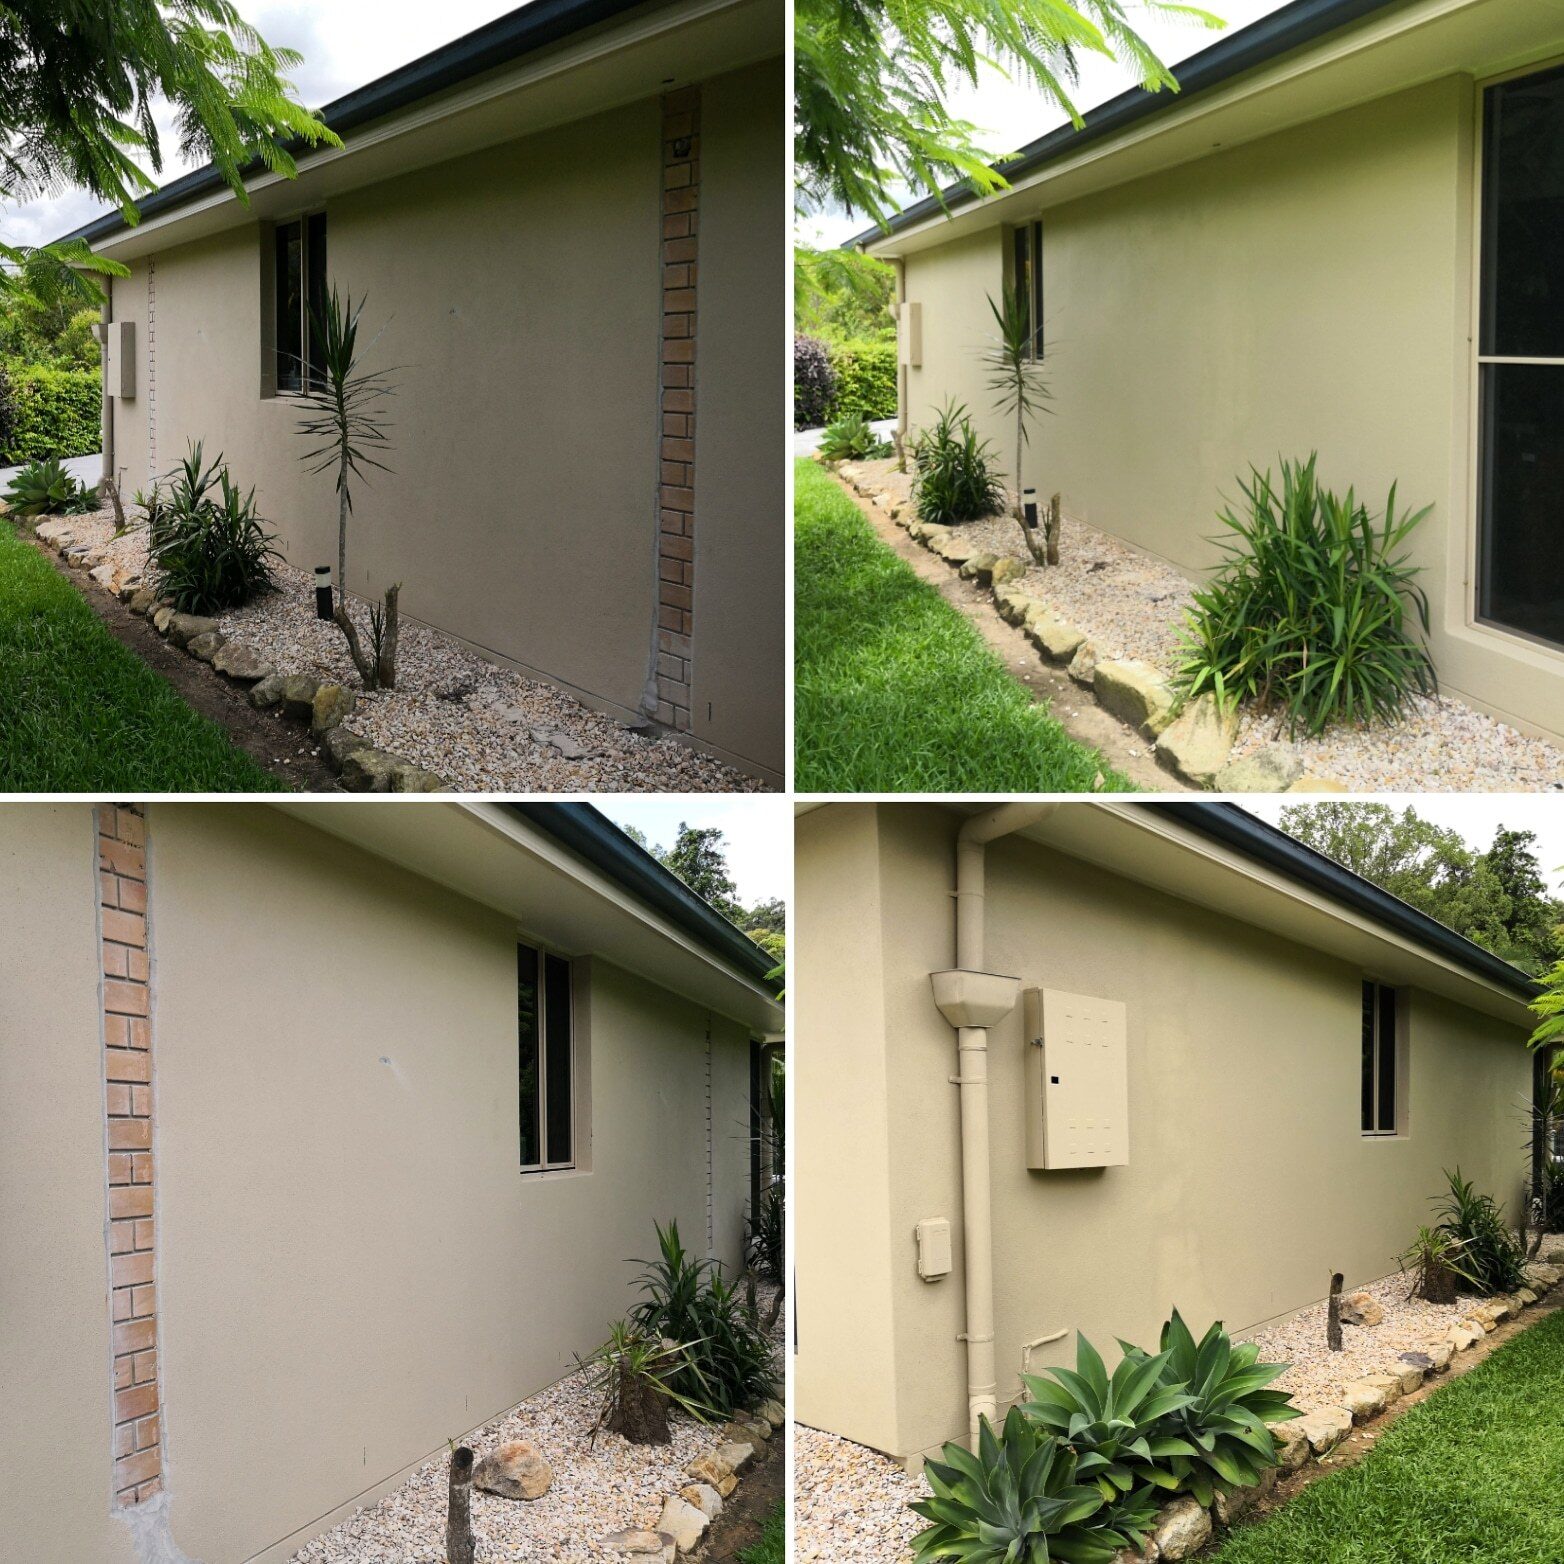
Step 2: Inspect every metre
Walk the wall slowly. Tap suspect areas with a knuckle — anything drummy needs to come out and be re-rendered before paint goes on. Look for:
- Hairline cracks (flexible filler before paint)
- Stepped or stair-stepped cracks (these suggest movement — investigate first)
- Drummy or hollow patches (cut out and re-render)
- Bubbled / blistered areas (water source first, then patch)
- Salt or efflorescence deposits (treat with neutralising primer)
- Paint chalking from the previous coat (locks down with a bonding primer)
Step 3: Pressure-wash properly
Low-pressure (under 2,000 PSI), fan tip, 30cm off the wall. The goal is to flush dust, salt, mould spores and chalking off the surface — not to blast the texture off the render. We follow with a sugar-soap and water mix on greasy areas (around BBQs, garage exhausts) and a mould-killer where there’s any sign of green or black bloom.
Then wait 48 hours for the wall to dry properly. Painting onto a damp wall is the second-most-common reason paint fails.
Step 4: Patch and fill
Hairline cracks: a flexible acrylic filler, knife it in, sand flush.
Larger holes (under 50mm): exterior-grade gap filler in two passes.
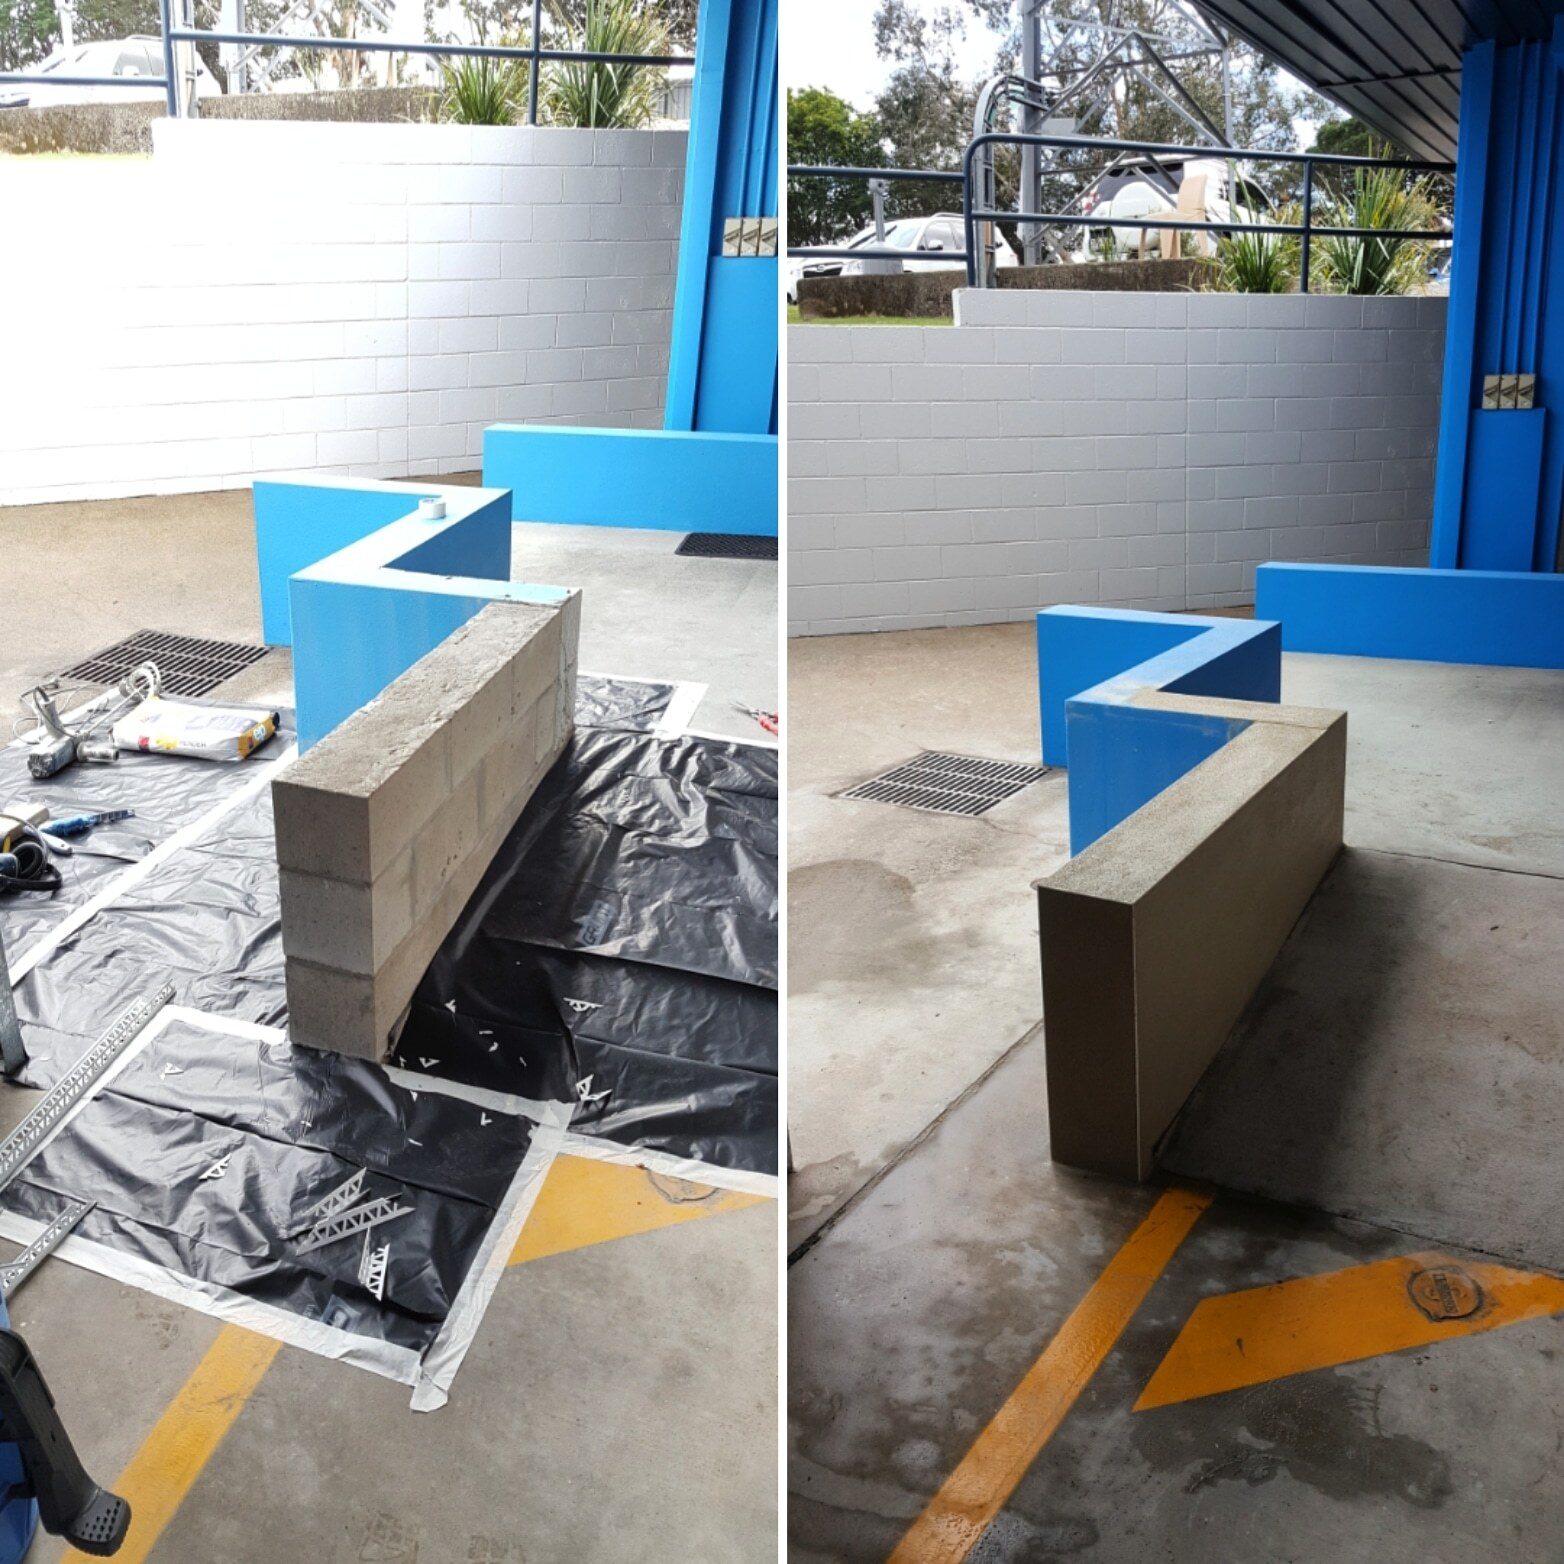
Drummy / loose render: cut out, mesh-reinforce, re-render and let it cure (back to step 1).
Window/door sills with visible crack along the wall junction: silicone caulk to prevent water tracking behind the paint.
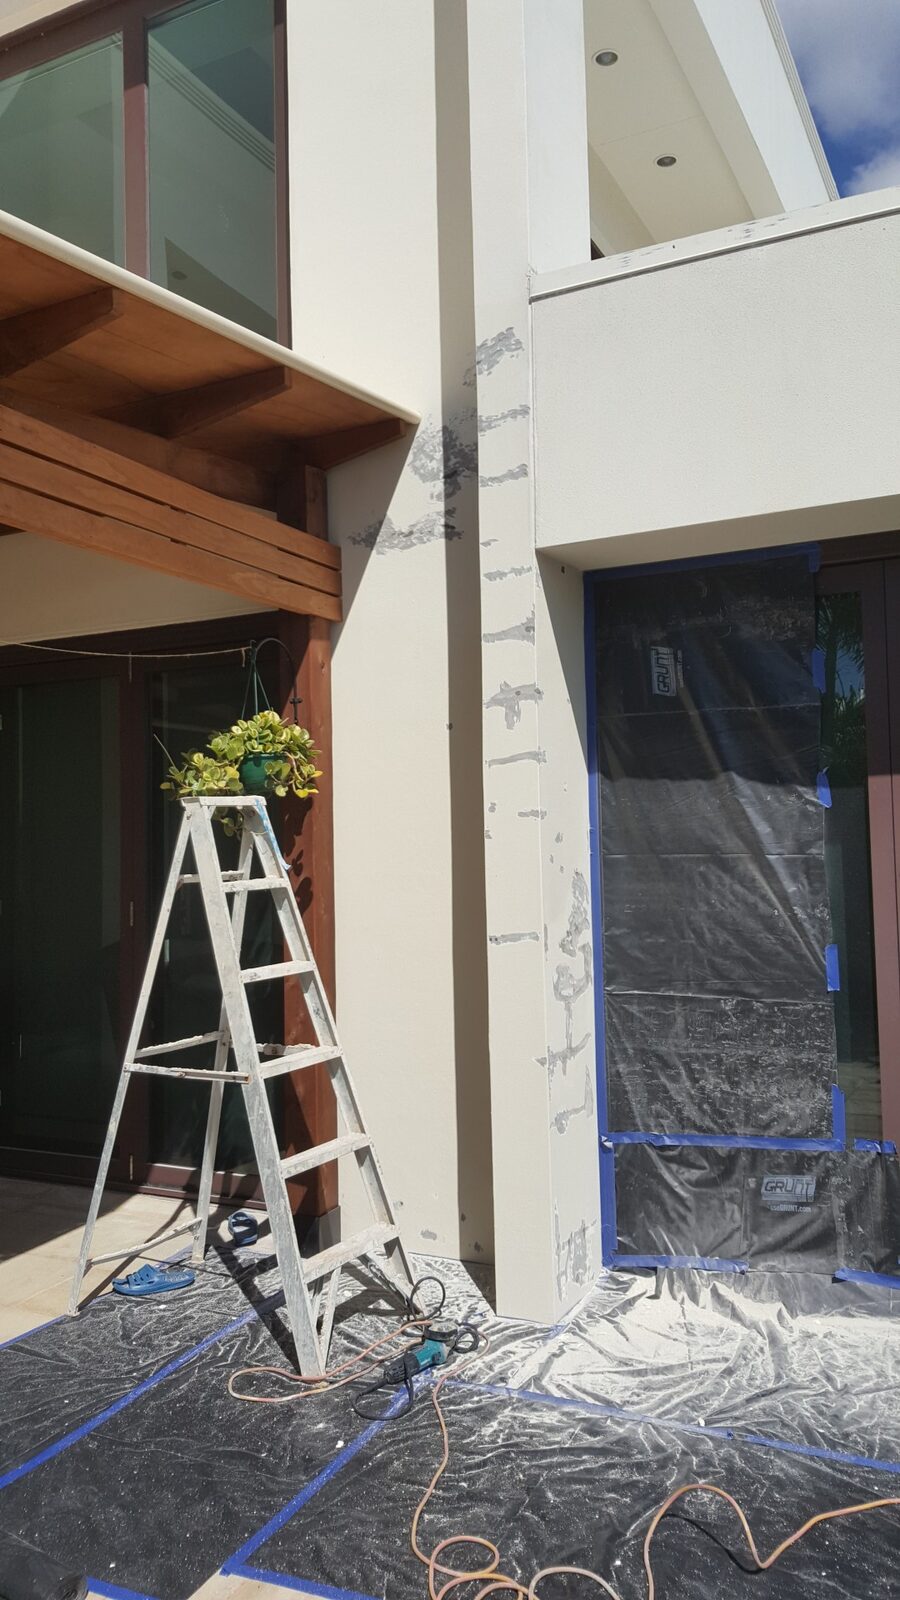
Step 5: Mask, sheet and prime
Drop sheets over plants and paving. Mask windows, frames, doors. Then prime — the right primer for the situation:
- Bare/new render: alkali-resistant acrylic primer.
- Old chalking paint: bonding primer.
- Salt-affected coastal walls: salt-neutralising primer.
- Stained areas (e.g. previous water damage): stain-block primer.
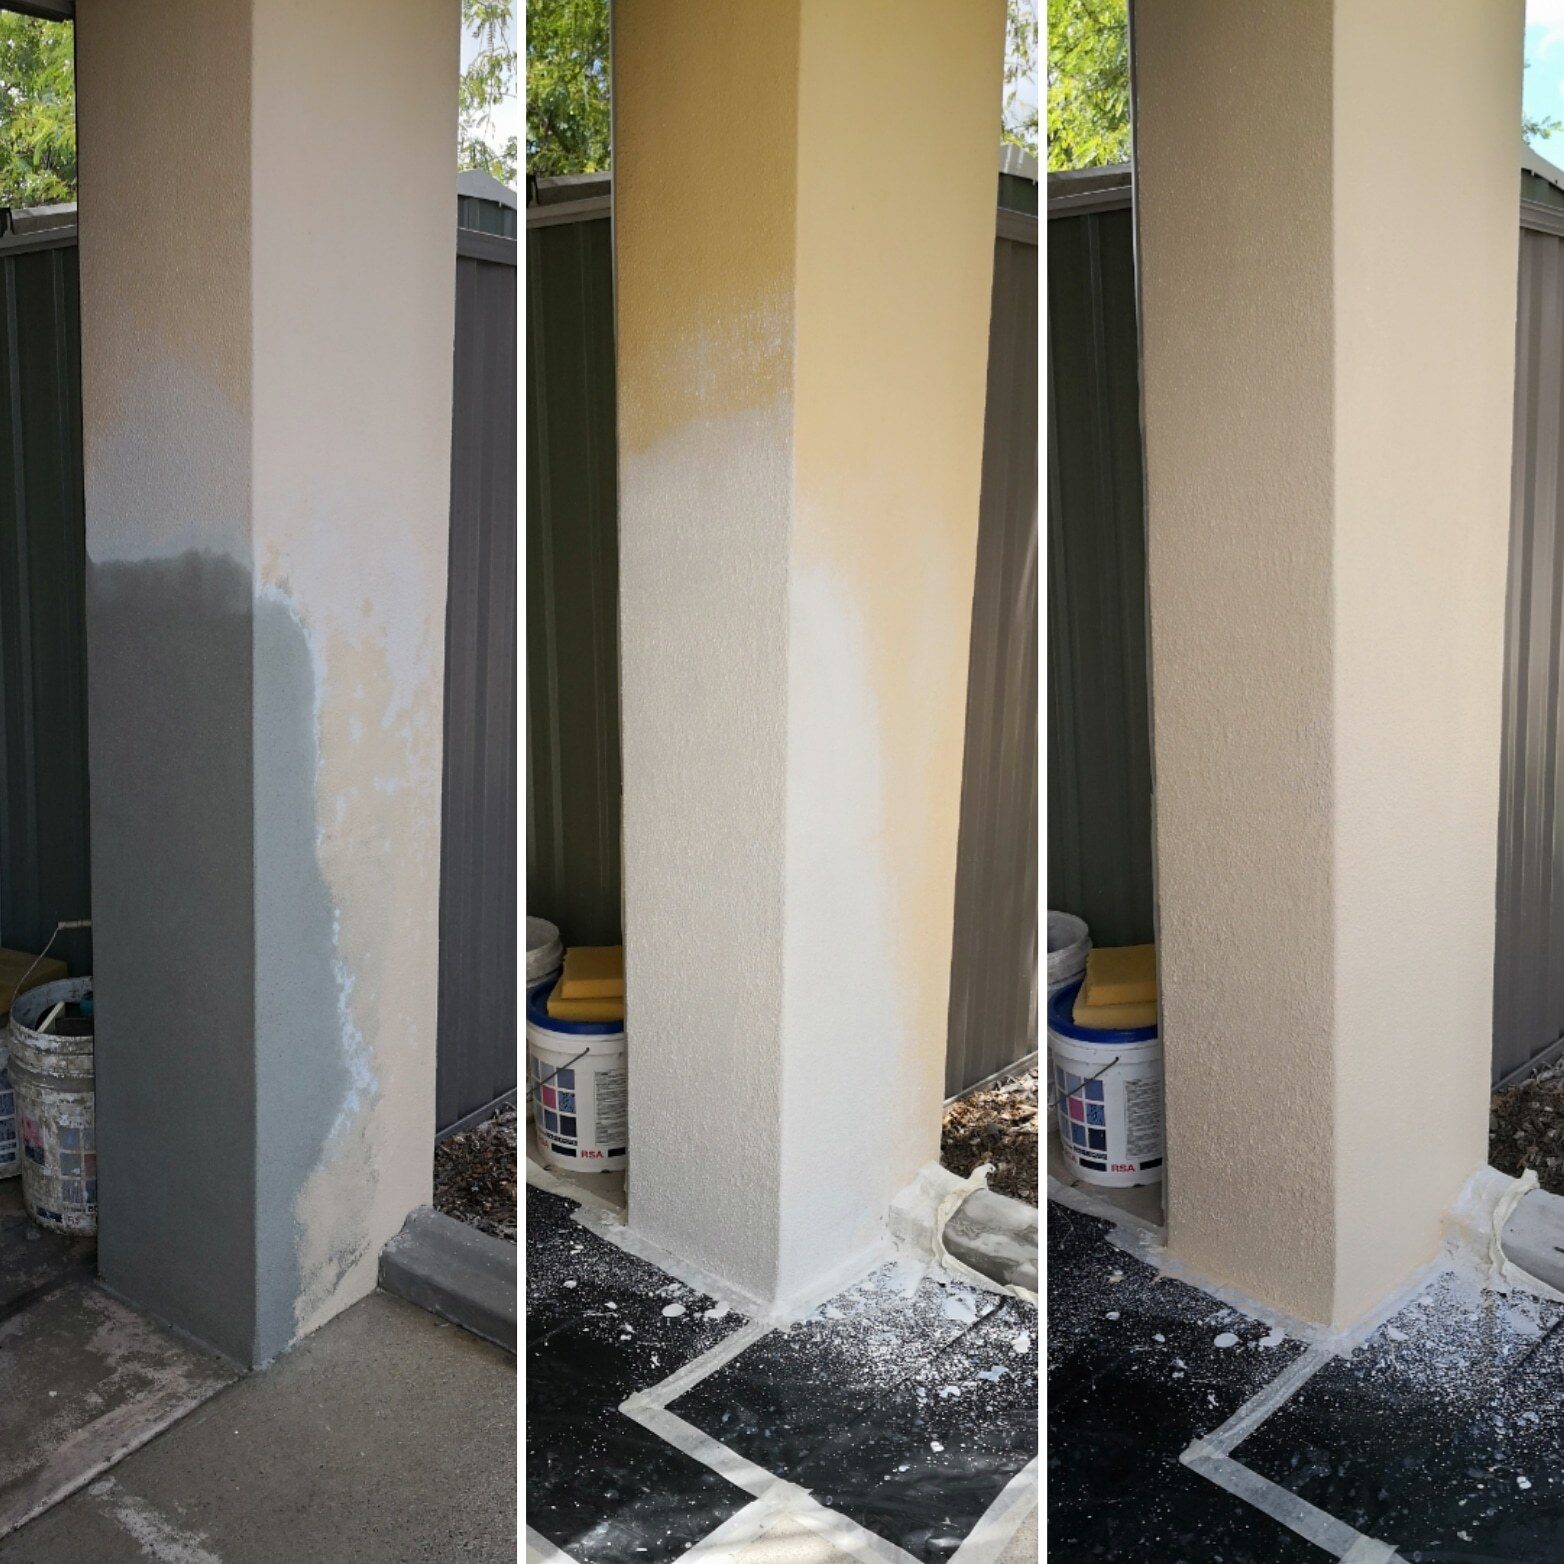
Step 6: Top-coat — two coats minimum
Dulux Weathershield is our default for external Queensland walls. Two coats at the manufacturer’s spread rate, with proper drying time between coats (usually 4 hours, longer in humid weather). On textured render or dark colours expect three coats for proper opacity.
Step 7: Walk-around and touch-ups
The day after the final coat we walk the entire job in low-angle morning or afternoon light. Anything that needs a touch-up gets touched up before we invoice. We don’t consider the job done until we’re happy — and you’re happy.
Skip steps 2 and 5 and you’ll save four hours of labour today, and pay for a complete repaint in two years. Don’t skip them.
Want it done properly? Render Repair handles render, prep and paint as one job — no chasing painters separately. See our render painting service or call us on 0405 772 878.
About — Render Repair is the Gold Coast’s render & repaint specialist. 30+ years on the tools, QBCC #1192125. Honest quotes, fixed prices, finishes you can’t pick from the original wall.