Render damage almost always starts small. Caught early, a fix is a few hundred dollars and an afternoon. Caught late, after water has been getting in for two summers, the same fix can be a full elevation re-render plus the timber and plasterboard repairs inside the wall.
Here’s the home-owner’s walk-around checklist we recommend doing once a year — ideally late autumn before the next wet season.
1. Walk the perimeter and look up
Stand back from each elevation and scan from ground to roofline. You’re looking for:
- New cracks (compare to memory or last year’s photos)
- Discoloured patches (often a sign of water tracking through)
- White powder or salty deposits (efflorescence)
- Bulging or lifting near windows, doors and parapet caps
- Mould bloom (green or black) on shaded walls
2. Tap-test high-risk zones
Knock on the render with a knuckle in these spots:
- Around all window and door frames
- Below sills
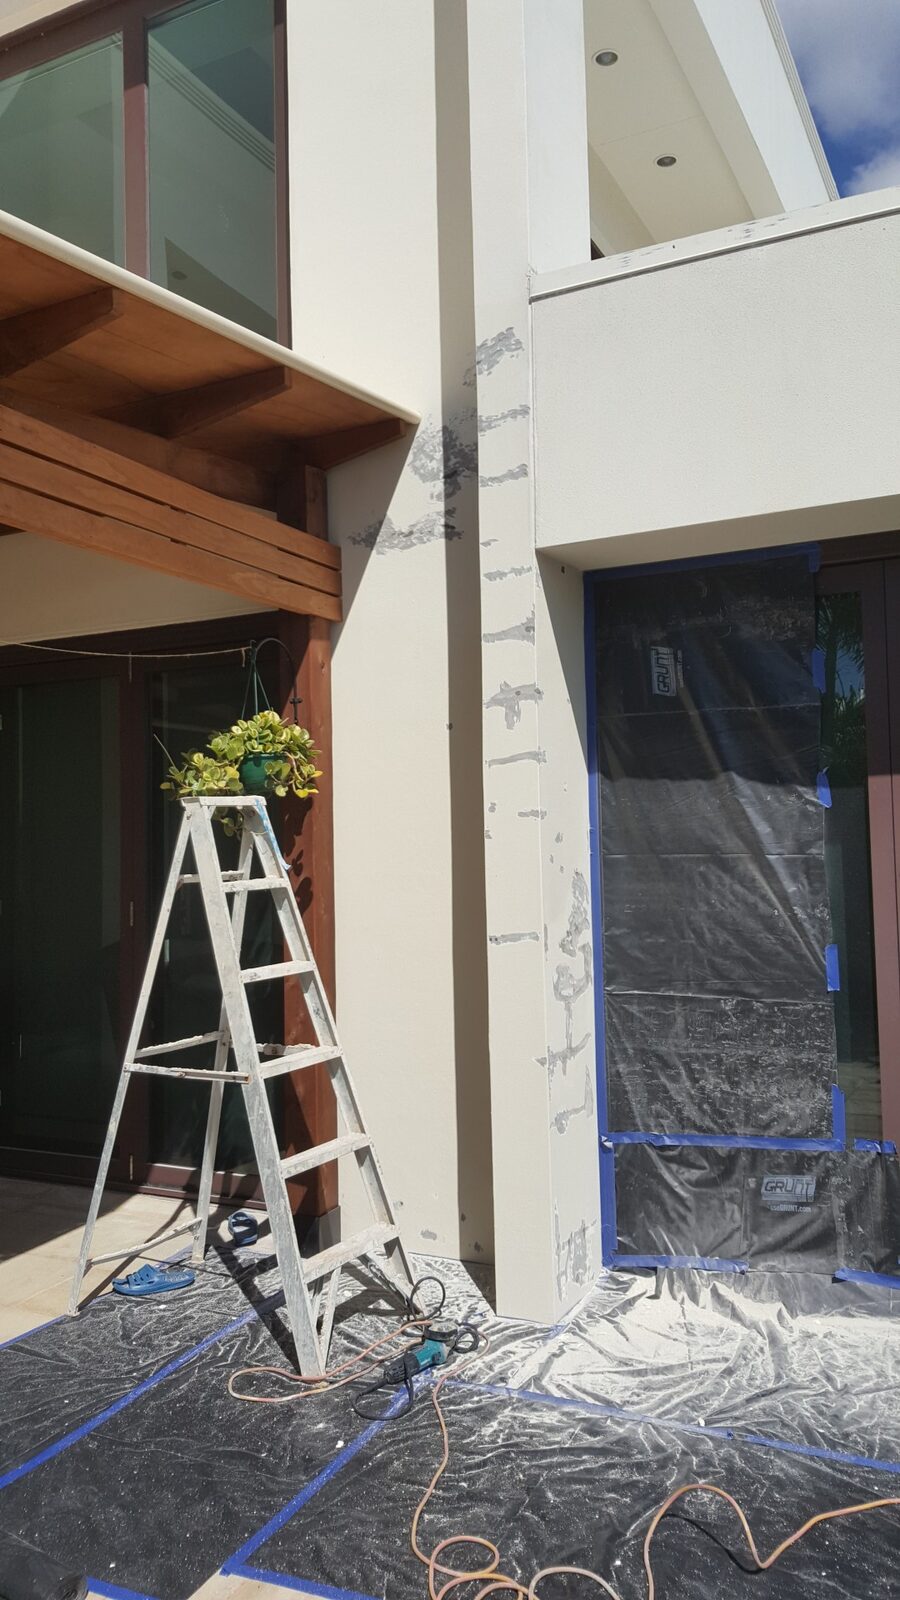
- Wherever a downpipe runs near the wall
- Behind air-con units and external taps
- Around any wall penetrations (sat dishes, antennas, alarm sirens)
Solid render makes a sharp click. Drummy render sounds hollow — like knocking on an empty box. Drummy = bonded to nothing = needs to come out.
3. Check the flashings and sealants
The single most common cause of render failure on the Gold Coast is a window or door head flashing where the silicone has perished. Look at the bead of sealant where every window head meets the wall — if it’s cracked, peeling or shrunk back, water is getting in. Same for the parapet caps on flat-roofed sections.
4. Inspect the bottom of the wall
Get down on the lawn and check the base of each wall. You’re looking for:
- Soil or garden beds piled up against the wall (bridges the damp-proof course)
- Blocked weep-holes (small gaps in the brickwork at base level)
- Paving sloping toward the wall instead of away from it
- Dampness or moss at the wall base
Any of these means water can’t escape from inside the wall — and rising damp is the eventual result.
5. Test the paint
Run the back of your hand down a sun-exposed wall. If your hand comes away with chalky white residue, the paint is at end-of-life. It will keep weather-proofing the render for now, but plan for a repaint within 12–24 months.
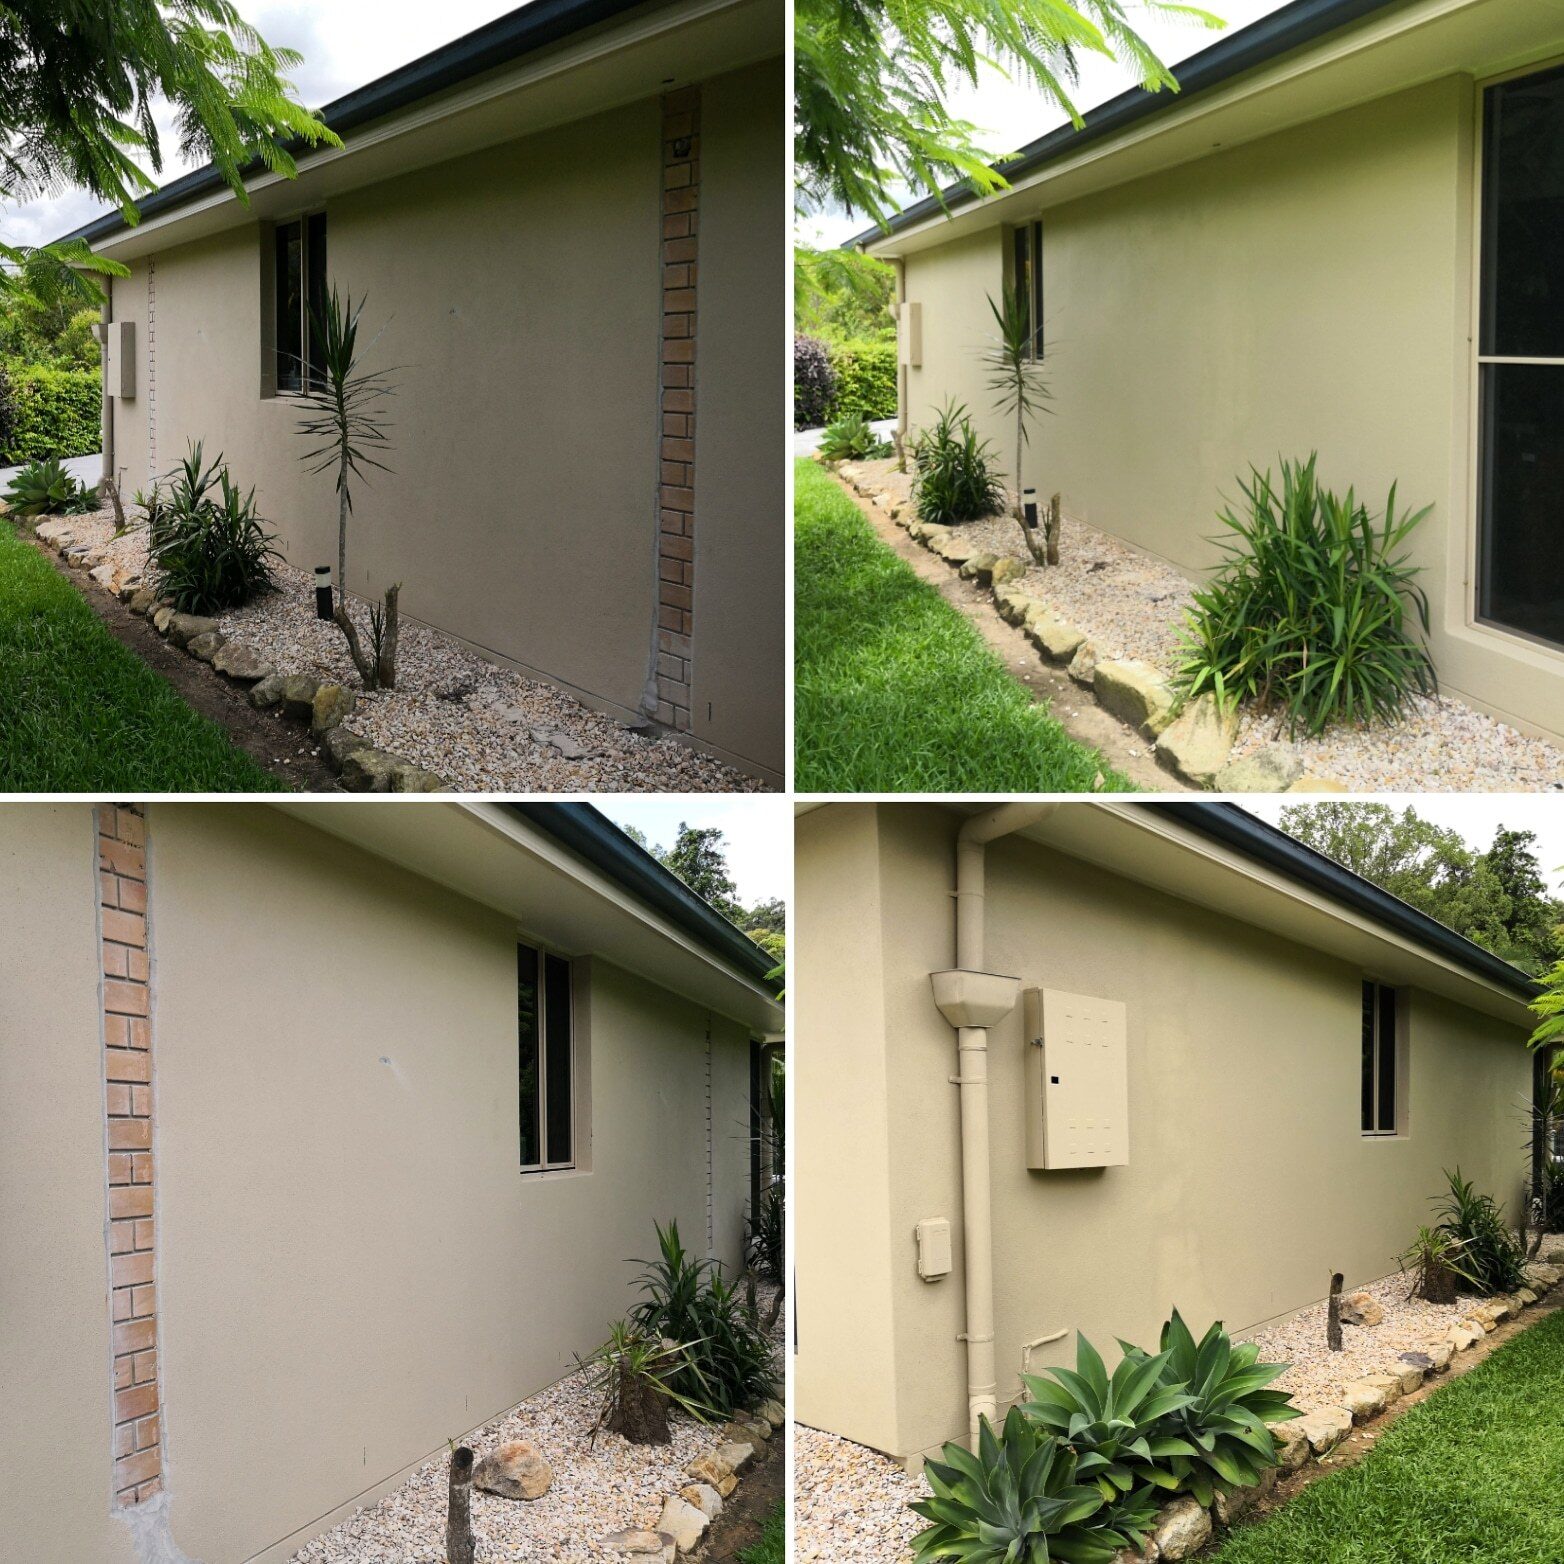
6. Photograph everything
Take a phone photo of every elevation, with date stamps. Next year you’ll have a proper before/after comparison. Cracks that were hairline a year ago and are now visibly wider are telling you something different to cracks that have been the same width for three years.
An hour of walking around your house once a year, plus $400 worth of small repairs, prevents an $8,000 problem in five years’ time. Best ROI on any home maintenance you can do.
When to call us
- Drummy render anywhere — especially near windows and doors
- Visible cracks wider than a 5c-coin edge
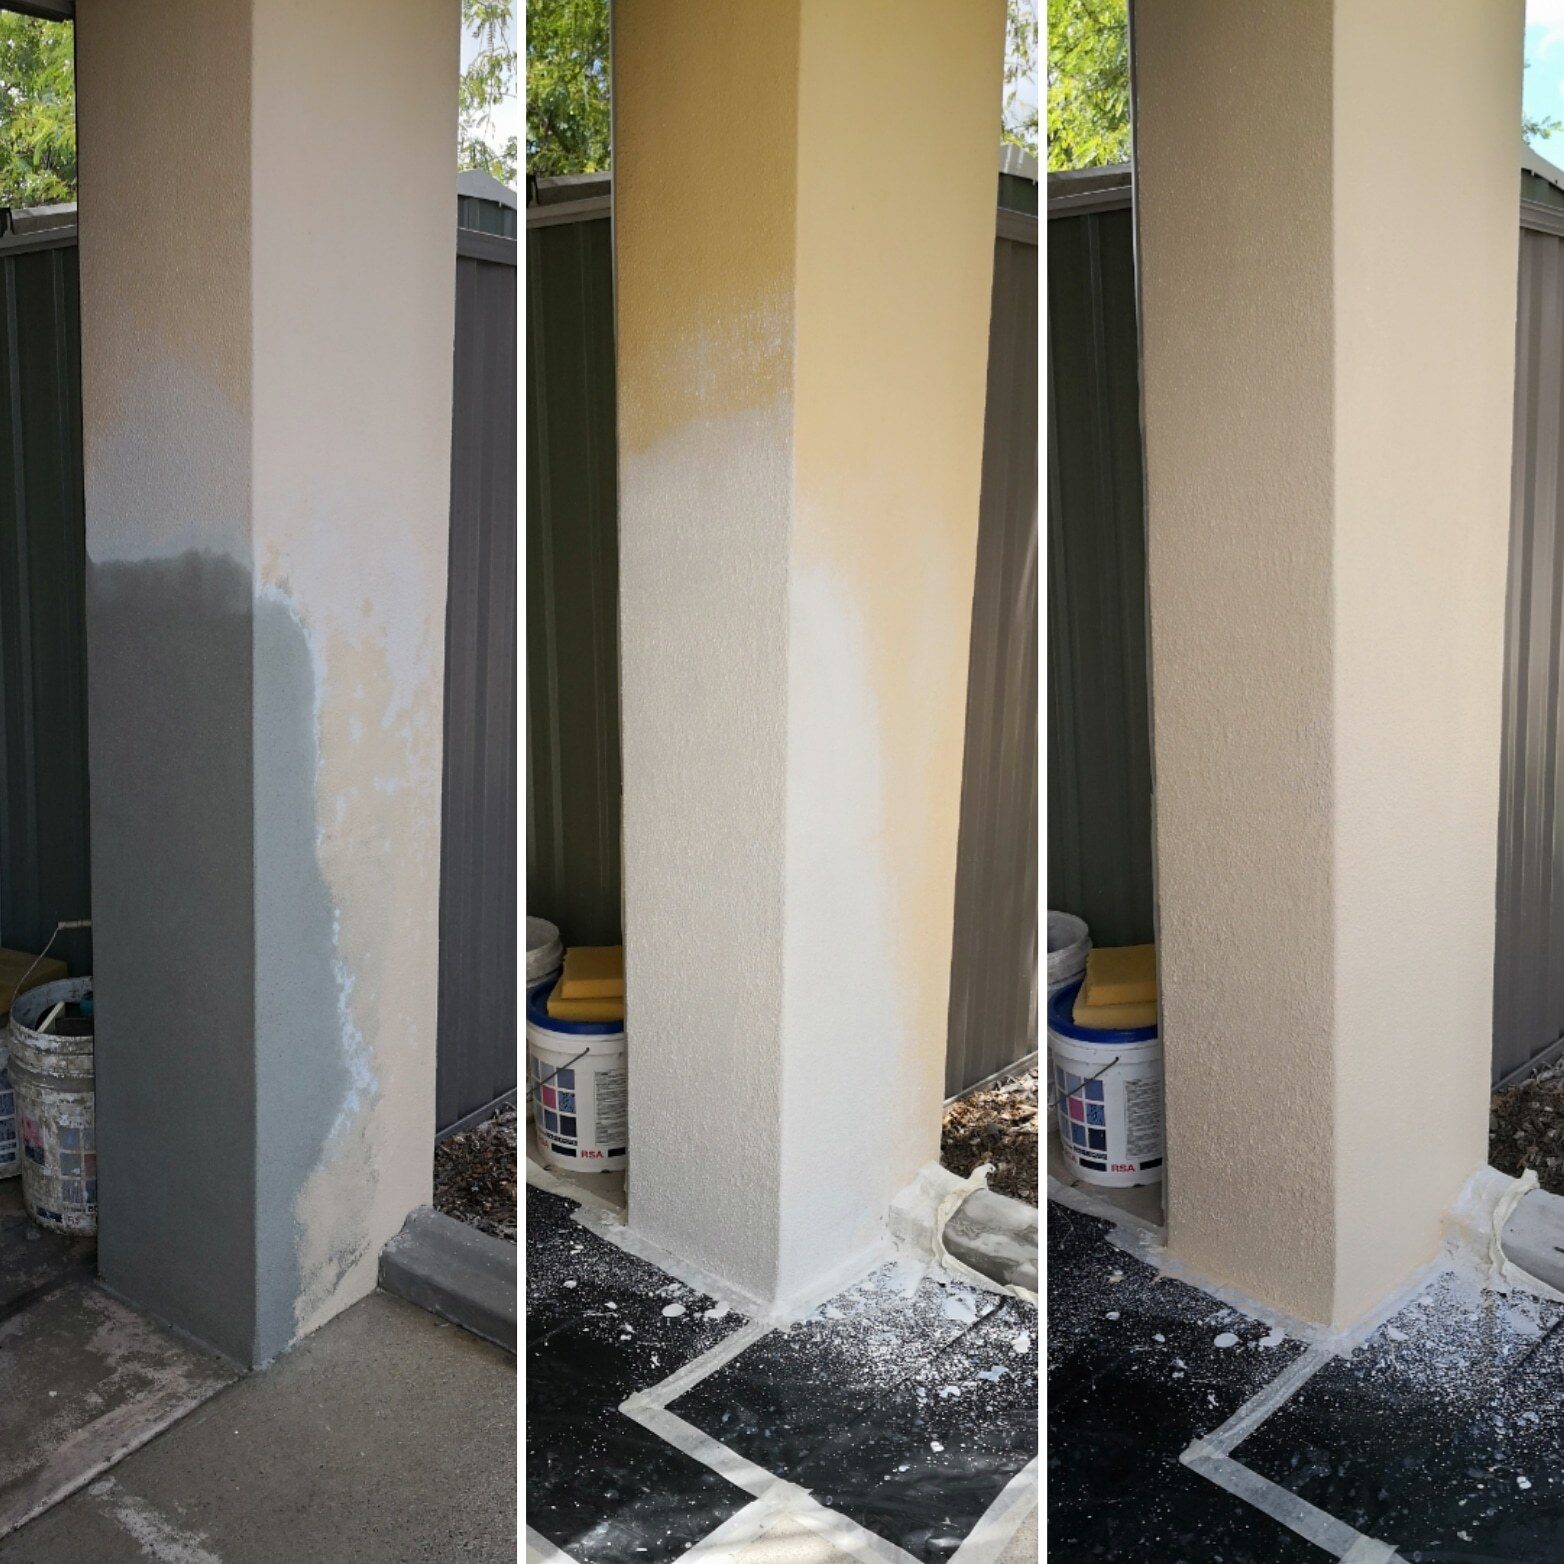
- Bubbling, blistering or actual peeling render
- White efflorescence pushing through the paint
- Failed window/door head sealants near rendered walls
- Anything you’re not sure about — quotes are free, no obligation
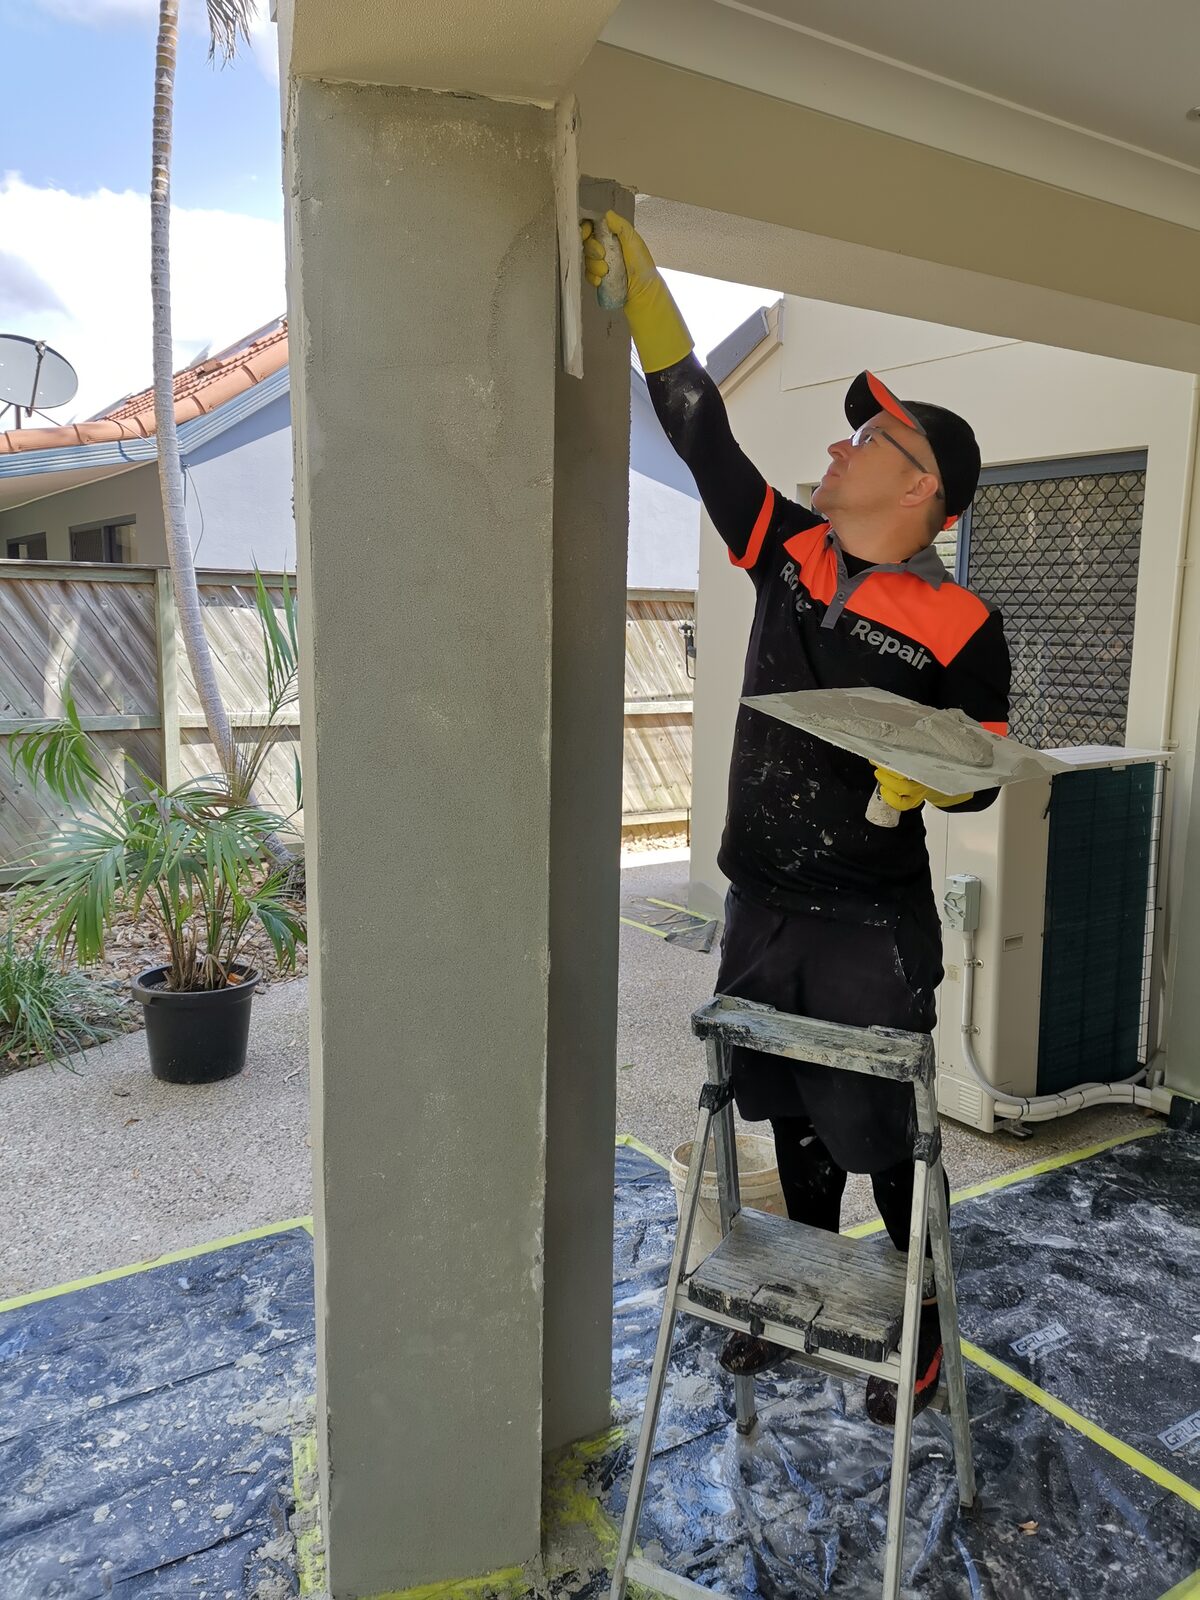
Call us on 0405 772 878 for a free quote on the Gold Coast.
About — Render Repair is the Gold Coast’s render & repaint specialist. 30+ years on the tools, QBCC #1192125. Honest quotes, fixed prices, finishes you can’t pick from the original wall.